Friday, October 29, 2010

Soul Sister

This is a long one. Hope you have the patience!

Girlfriends are sisters you get to choose. And if you’re lucky (or unlucky) enough, you get to actually have a sister! I have one. It’s just the two of us.

Luck and good things aside, boy have we fought! Even to this day I can hear her screaming, “I wish you die!” and in revenge I may have pushed her and fractured her hand (*grinning sheepishly*). And then there was the favorite’s game we played with our parents. I’m sure they must’ve had times they wished they could’ve disowned the both of us.

I actually did something as cliched as Google “Sister Quotes” and look what came up! Truer words were not spoken.

Big sisters are the crab grass in the lawn of life. ~Charles M. Schulz

If you don't understand how a woman could both love her sister dearly and want to wring her neck at the same time, then you were probably an only child. ~Linda Sunshine

If your sister is in a tearing hurry to go out and cannot catch your eye, she's wearing your best sweater. ~Pam Brown

I know my older sister loves me because she gives me all her old clothes and has to go out and buy new ones. ~Author unknown, attributed to a 4-year-old named Lauren

All us younger sisters have been there 4 year-old named Lauren, and only growing up can put you out of that misery.

And then there were some sweet ones too…

A sister can be seen as someone who is both ourselves and very much not ourselves - a special kind of double. ~Toni Morrison

What's the good of news if you haven't a sister to share it? ~Jenny DeVries

I know some sisters who only see each other on Mother's Day and some who will never speak again. But most are like my sister and me... linked by volatile love, best friends who make other best friends ever so slightly less best. ~Patricia Volk


‘Volatile love’. Could we ask for a better description?

And the ultimate!!!

A sister smiles when one tells one's stories - for she knows where the decoration has been added. ~Chris Montaigne

Just one more. I really think my sister wrote the following quote under a pseudo name–

If sisters were free to express how they really feel, parents would hear this: "Give me all the attention and all the toys and send Rebecca to live with Grandma." ~Linda Sunshine

Oh well… there are a million more and I seriously may never finish writing this. So we eventually grew up and the fighting dwindled. It hasn’t stopped though and I doubt it ever will!

And then there were all those matchy-matchy clothes. Yeah, you heard me right. Don’t pretend to not know what I’m talking about. Especially if you have sisters! Looking back at pictures it seems like my mum’s only and ultimate goal in life was to put us in matching clothes and my father's was to photograph us in those. I remember roaming the corridors of Cizons Complex, Egmore and going to meet tailor aunty to get that perfectly matched outfit ready. Even on our birthdays! We matched on birthdays!!!

Here’s me, creating a photo op to show you my kiddy pics ;) And in matching clothes of course!


Even in matching night clothes...


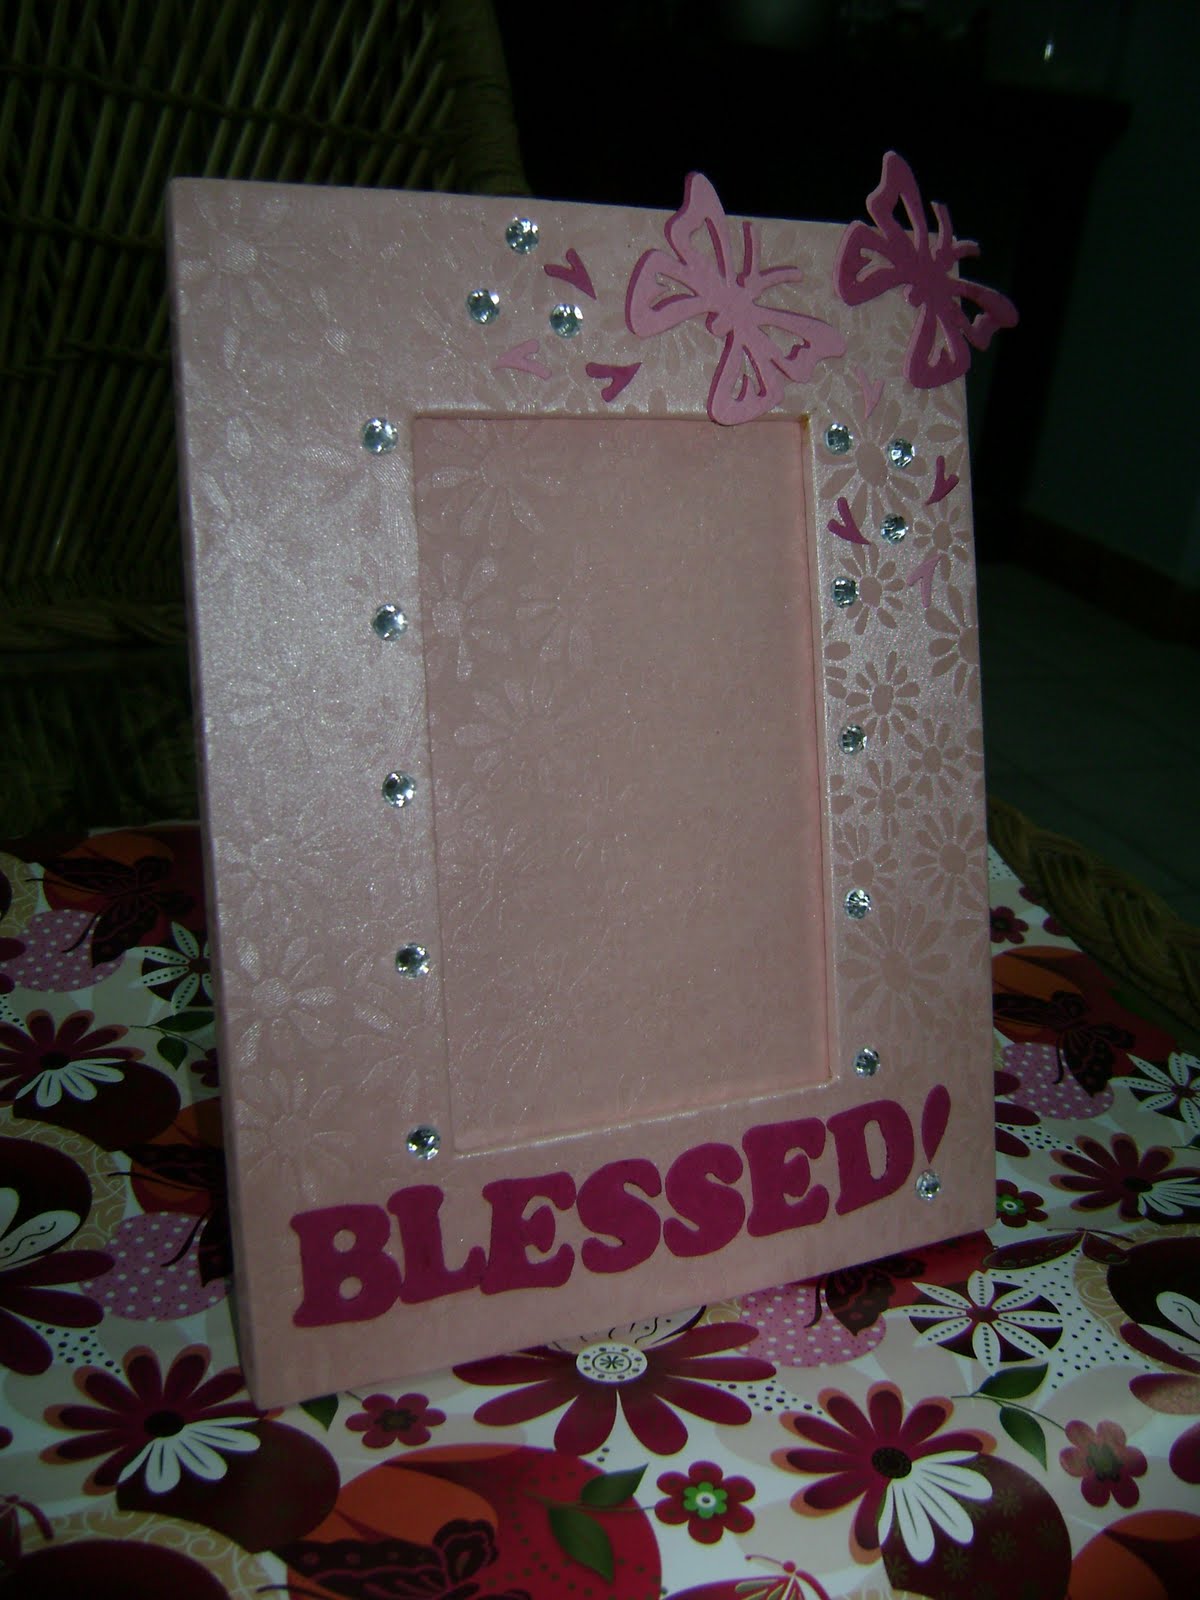
All this and a gift of die cut paper in shapes of dresses from a friend in Bangalore got me thinking. Here’s my picture frame tribute to sister’s everywhere. You girls maybe single and living with your parents like we were or married and living in different countries like we are now. But hold onto her tight, you know she’s the bestest friend you’ve got!


This one’s for you Ruthie!!!


A sister is a little bit of childhood that can never be lost. ~Marion C. Garretty

Thursday, October 28, 2010

Pillow Boxes

As I had mentioned on an earlier post, there was a pre-wedding phase in my life when favour boxes became my sole obsession. So much that I made 800 – 900 handcrafted pillow boxes for my wedding. I did take the help of some friends eventually, but 80% of the work was done by me. Ridiculous I know! It went on till the night before the wedding day because I wanted to make 1000 boxes. I’m so glad I got that obsession out of my system.

Here are some pictures of some boxes I made later, when sanity returned and I had some time on my hands. These can be used as little gift boxes for jewellery, key chains etc.


And here’s a picture of my favour boxes taken by a friend.


At the end of my wedding day the only thing I apparently kept repeating to my husband was "Thank God we get married only once!"

Tuesday, October 26, 2010

Autumn

This picture frame was created for friends of my father-in-law who visited us. It’s made from printed cotton fabric that has a pattern of leaves running through it which creates a wonderful rustic vibe.

Monday, October 25, 2010

Pink it is!

What is it about baby girls and pink? Could anything make something sweet sweeter?

Two lovely picture frames that I created for two beautiful baby girls. The first frame is for the grandparents of Baby K and the second one is a personalized frame for the baby girl of my husband’s friends.


Saturday, October 23, 2010

Nativity Candle Holders

Remember that catchy song from Alvin and the Chipmunks that can get really annoying when a person (my husband) sings it all year round? Story of my life… and an example of our obsession with Christmas. If ever anyone needs a reason as to why I’d want to move to a Western country, it would be this - I hate having to wait until December 1st for shops to stock Christmas décor, magazines to even make a mention of the advent season and grocers to remove stale stock from last year and re-stock baking powder, cocoa and unsalted butter. Seriously!

So until the advertising and retail world realizes it’s the season of joy, I spice up my life with my own little made up versions of joy. Like the following Christmas home décor idea that I simply love. This is my first DIY tutorial and I hope it helps!

Nativity Silhouette Candle Holders

The idea is to basically have the three most prominent scenes of the nativity story represented as silhouettes – the wise men following the star, the shepherds hearing the good news and the manger where baby Jesus lay. Now there are 3 ways to do this – Easy, Easier, and Easiest. Hmm… interesting. Follow on!

Easy

Things that you need
3 round drinking glasses preferably with a flat base
3 battery operated tea light candles
Plastic sheet (the transparent thick kind that we use to cover school text books)
Kite or tissue or tracing or butter paper or vellum (basically a paper that has a translucent quality and is generally in some shade of white)
A black and white print out on office white paper of nativity scenes (you can browse around on Google images and find quite a few!)
Scissors
Art blade/ knife
Glue stick (I prefer Fevi stick)
Stapler
Black poster paint and a paintbrush

- Take the printed paper with the nativity scene on it and start cutting out the silhouette. This can be quite tricky as there are many fine details. But these details make the end product beautiful. Don’t worry about chopping off a camel’s leg or a shepherd’s staff. Just make sure to retain all the bits that you’ve accidentally cut off. It can be glued on together.
- Once that’s done, you’ll notice that your sweaty fingers have taken off most of the black ink on the silhouette. So take out that black poster colour and paint the silhouettes. Let them dry.
- Take one of the glasses that you’ve selected and measure the plastic wrap around it and cut it with a little allowance for stapling the sides together. Then measure and cut 2 more pieces of plastic wrap and 3 piece of white kite paper… all in the same measurement.
- Take the dried silhouette of one of the scenes. For eg. The three wise men. Use the glue stick on the side painted black and stick it down on the plastic sheet positioning it in the centre.
- Now wrap this plastic sheet over the glass and staple or glue it in place. Gluing plastic can be tricky and so I prefer to mark it while on the glass, then remove and staple the sheet and later slide it back on the glass.
- Take the kite paper and wrap it around the plastic wrap and glue the ends together.
- Slide the plastic wrap and kite paper cylinder over the glass and place a tea light inside.
- Repeat steps for the other nativity scenes and Voila!


You will be able to see in the second image that the detailing was pretty badly cut out, like the disconnected rope. Also the size of the plastic wrap in the first picture was cut short for one of the glasses. And I haven't used flat based glasses either... Bad me. But if the instructions are followed the way they ought to be, the result can be quite remarkable!

Easier

You can skip all those steps by just buying 3 frosted glass cups. That would give you the translucent look that you require. So you just have to cut out the silhouettes, darken them (by painting them black) and paste them on the inside of the glass (which might be difficult if your glass is too tall). Forceps maybe of great help here.

Easiest

If you’ve got the bucks, just scrap the entire project and buy them online at Dayspring!

I simply have to end this post with the immortal words of the chipmunks-

“We can hardly stand the wait
Please Christmas, don’t be late”

Life.

While I try getting over this feeling of unworthiness to blog that’s creeping back in (and that kept me from blogging all these years), I leave a picture of a photo frame I completed for the birth of a friend's baby boy. The frame looks much happier than I feel right now.

A reminder to us all : “Celebrate Life!”

Thursday, October 21, 2010

Origami Paper Stars

I came across a tutorial for Lucky Wishing Stars on a wonderful blog called Folding Trees… and I just had to make them. What can I really say? Puffy stars make me happy!!! I had some quilling paper lying around from my previous failed attempts in that direction.

So I used that and made these miniscule paper stars that measure about ¼”.


After nearly 4 months of lying around in a little box I finally decided to use them on a photo frame. As I said before… puffy stars make me happy!!! Don’t they make you feel all happy inside too?


Wednesday, October 20, 2010

Christmas in October!

A friend of mine came down from the US about 6 months and gave me a book called 24 – Hour Sewing Projects by Linda Causee. I’ve never done any real time sewing project before, and as easy and interesting as everything looked in the book, I decided to start on something real easy -especially since I don’t have a sewing machine.


A section on Christmas Ornaments!!! How could I ever let that one slide? I had to try them. The book illustrated a star and an angel made from the most beautiful white fabric with gold brocade. Should I really go out and buy lovely fabric just to waste it on my experimental sewing? So when I dropped by my parent’s place one weekend I found some left over fabric from a blouse my sister had tailored eons ago and some sofa cover fabric left over from my parent’s recently re-upholstered sofa (green and perfect for a Christmas tree!) Once I got home I traced the patterns from the book onto the fabric and then hand sewed the fabric.


While I stayed true to design on the star, I made slight changes to the design of the Christmas tree. But later while stuffing the tree with cotton, I realized that my new design was much more difficult to ‘shape’. Anyways, below are pictures of the end product. Come Christmas, I may actually make them for real!


Tuesday, October 19, 2010

Evolution of my Birthday Banners

I heart birthday banners! They’re such a fun expression of joy and almost always creep their way into a birthday planning process. After years of using the regular store bought version, I decided to make something on my own. So the easiest was to rip off the ribbon on which the alphabets hang and stick them haywire like the image below.


For my dad’s 70th birthday, I decided to make one on my own. So I used those tacky alphabets as stencils and drew them out on pretty white paper, cut them out and pasted them on pretty dark blue paper circles and strung on a dark blue ribbon. Here’s the image and it’s really sad that the beauty of that paper is not captured on this photo. I have a point and shoot camera and this is as good as my pictures get :(


Sometime down the road, in my boredom, I decided to start a company that specializes in kid’s birthday party paper products. Like banners, party hats, decorations etc. I went about designing a birthday banner drawing inspiration from various banners I came across on the internet. The banner featured below was designed on Photoshop and hand cut by me.


And that’s how my version of Birthday Banners go…

Favour boxes for my bridesmaids

When it came to paper products, favour boxes were my first love. I initially came across favour boxes when I was browsing through the internet for ideas for my wedding.

After attempting various kinds of boxes using templates I downloaded from the internet, I eventually came up with these boxes that I presented as gifts to the best of my girlfriends who were with me on my wedding day. Some of them use them as jewel boxes which I think is a beautiful use for them. I use them to store little buttons and other craft items.


Monday, October 18, 2010

The first product I sold!

It all started with some pretty fabric that I picked up at Nalli, Chennai. I had bought the fabric with my cloth covered favour boxes in mind. However I felt that it was too tedious to work with and I left it lying around for a long time. I then decided to work with it on a photo frame.

My husband showed it to a friend of his who liked the photo frame a lot and asked for a gift set that she could present to a couple she was visiting. Long story short, I got to work and made these - a large frame for the picture of the couple and 2 individual small fames for pictures of their 2 children. They apparently liked it and I was super happy to have pleased my first customers!